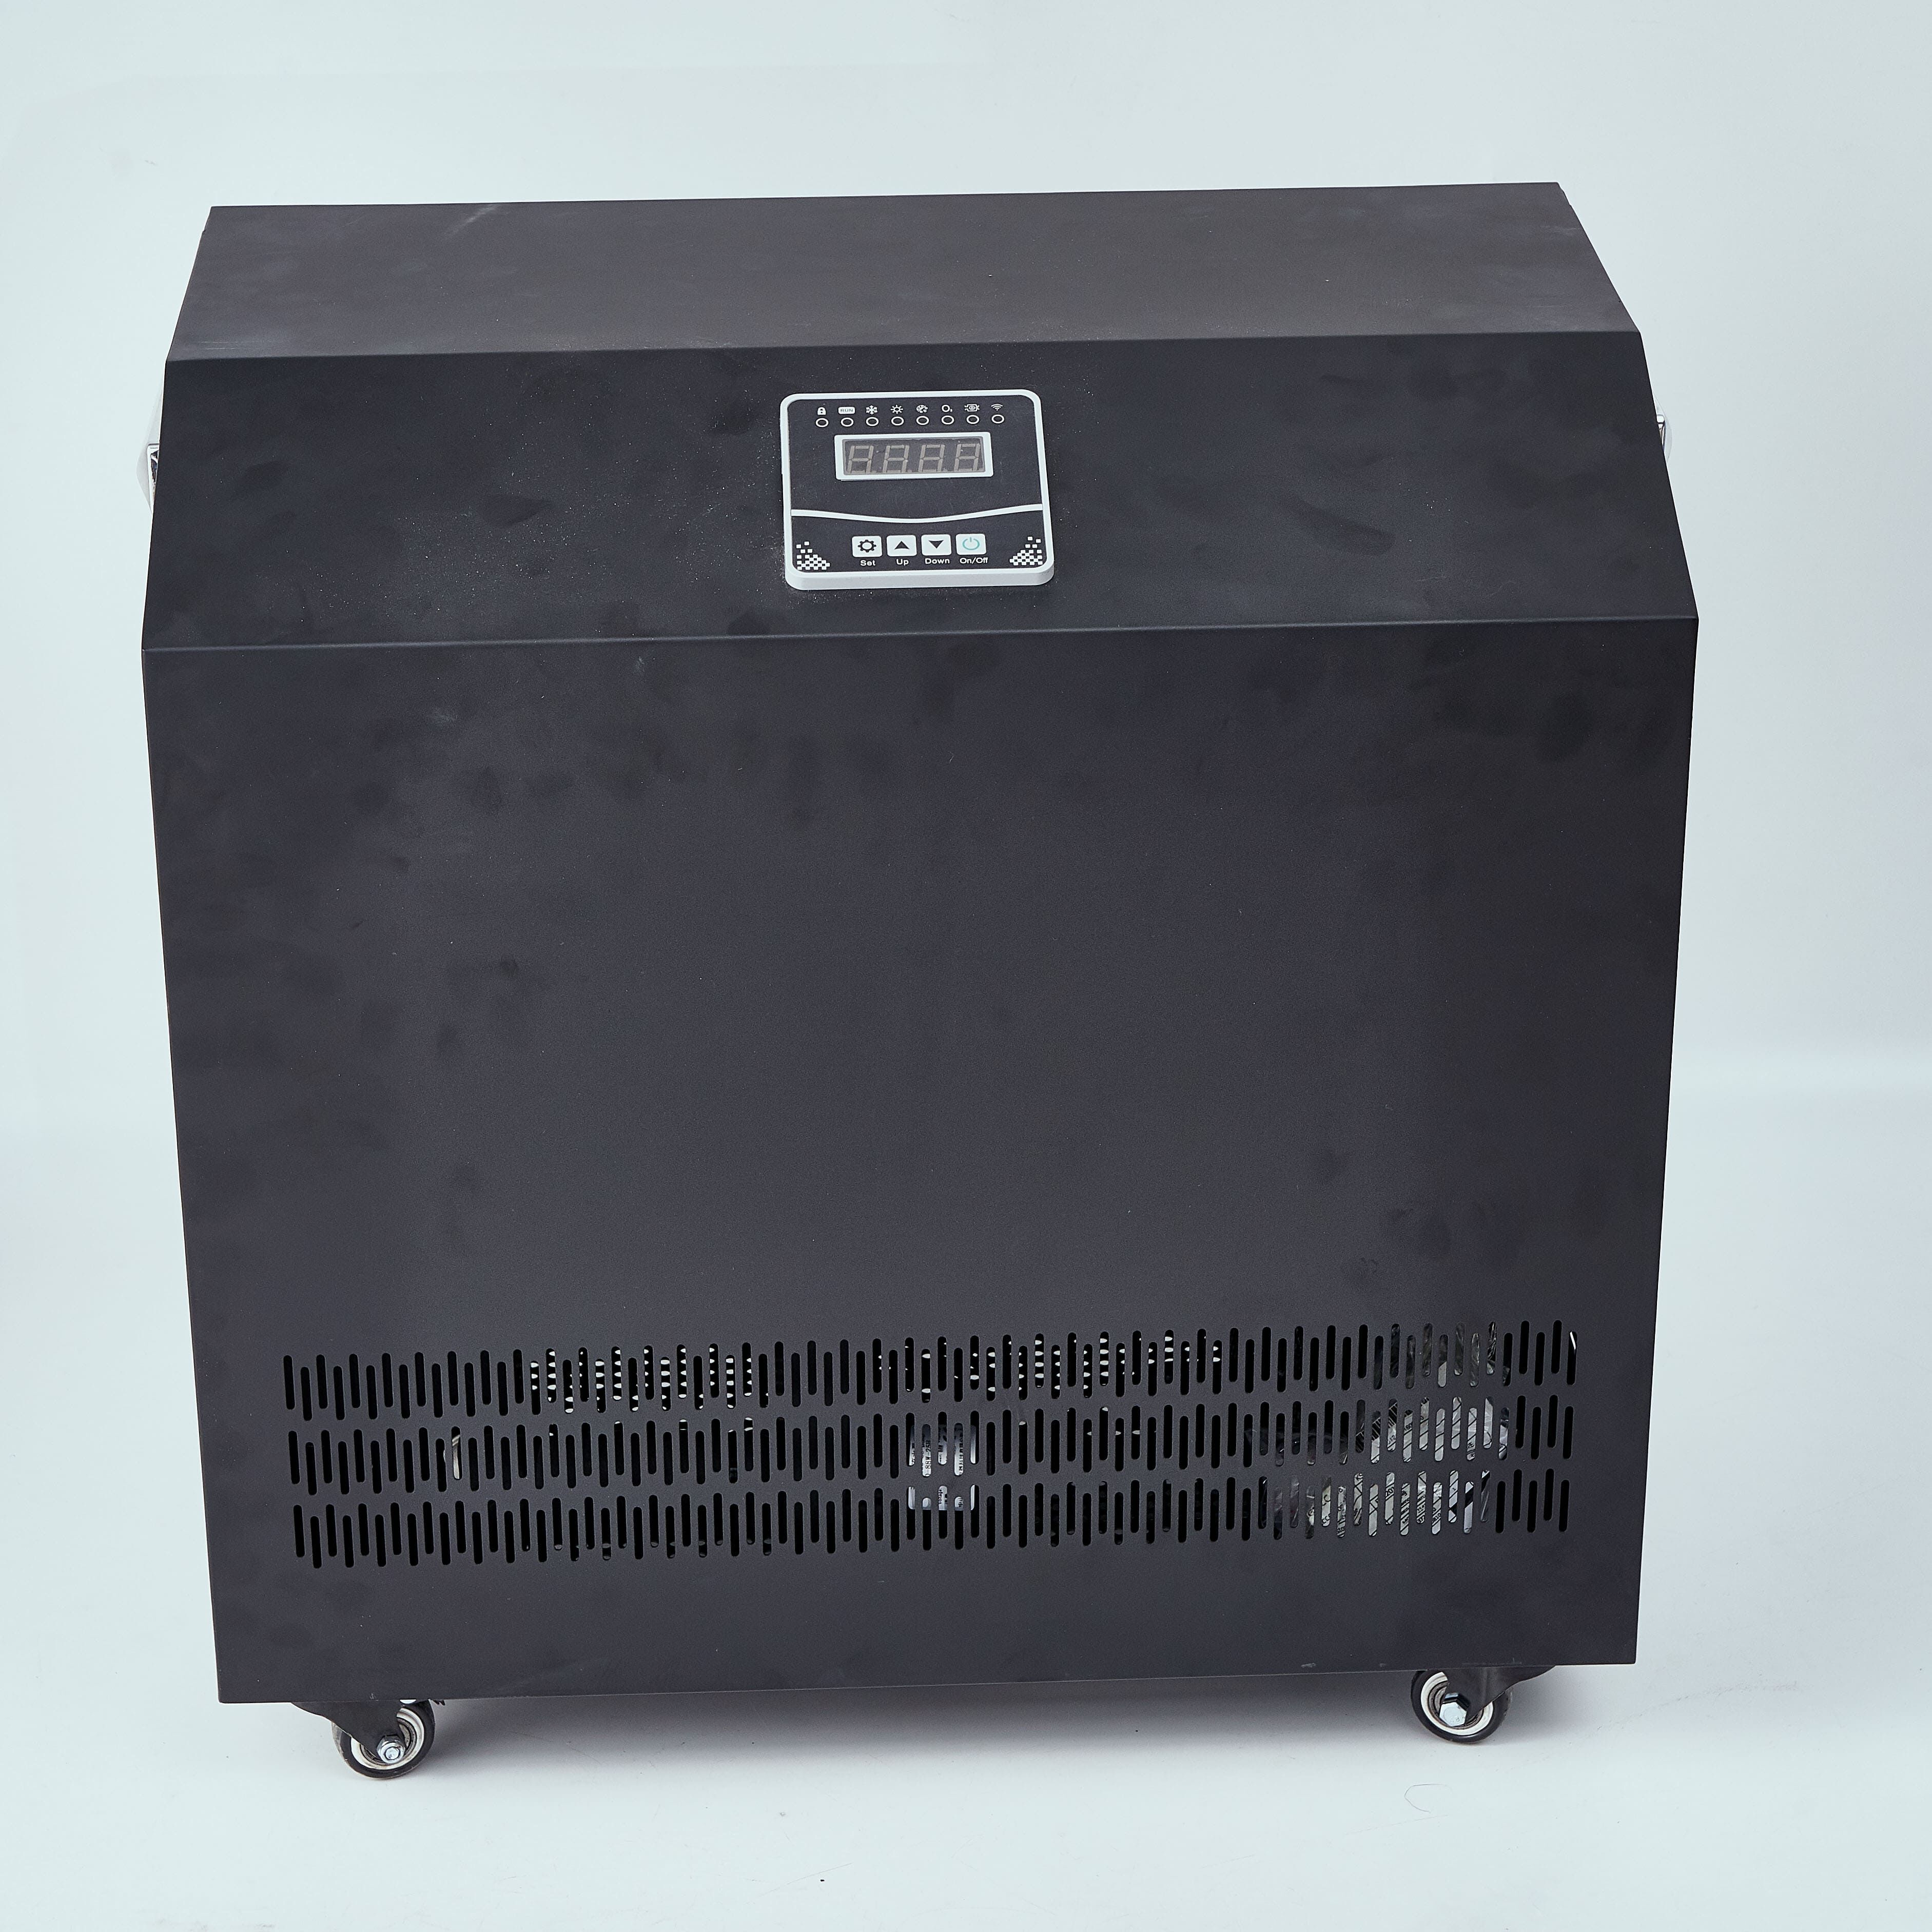
Selecting Components for Your Ice Bath Chiller
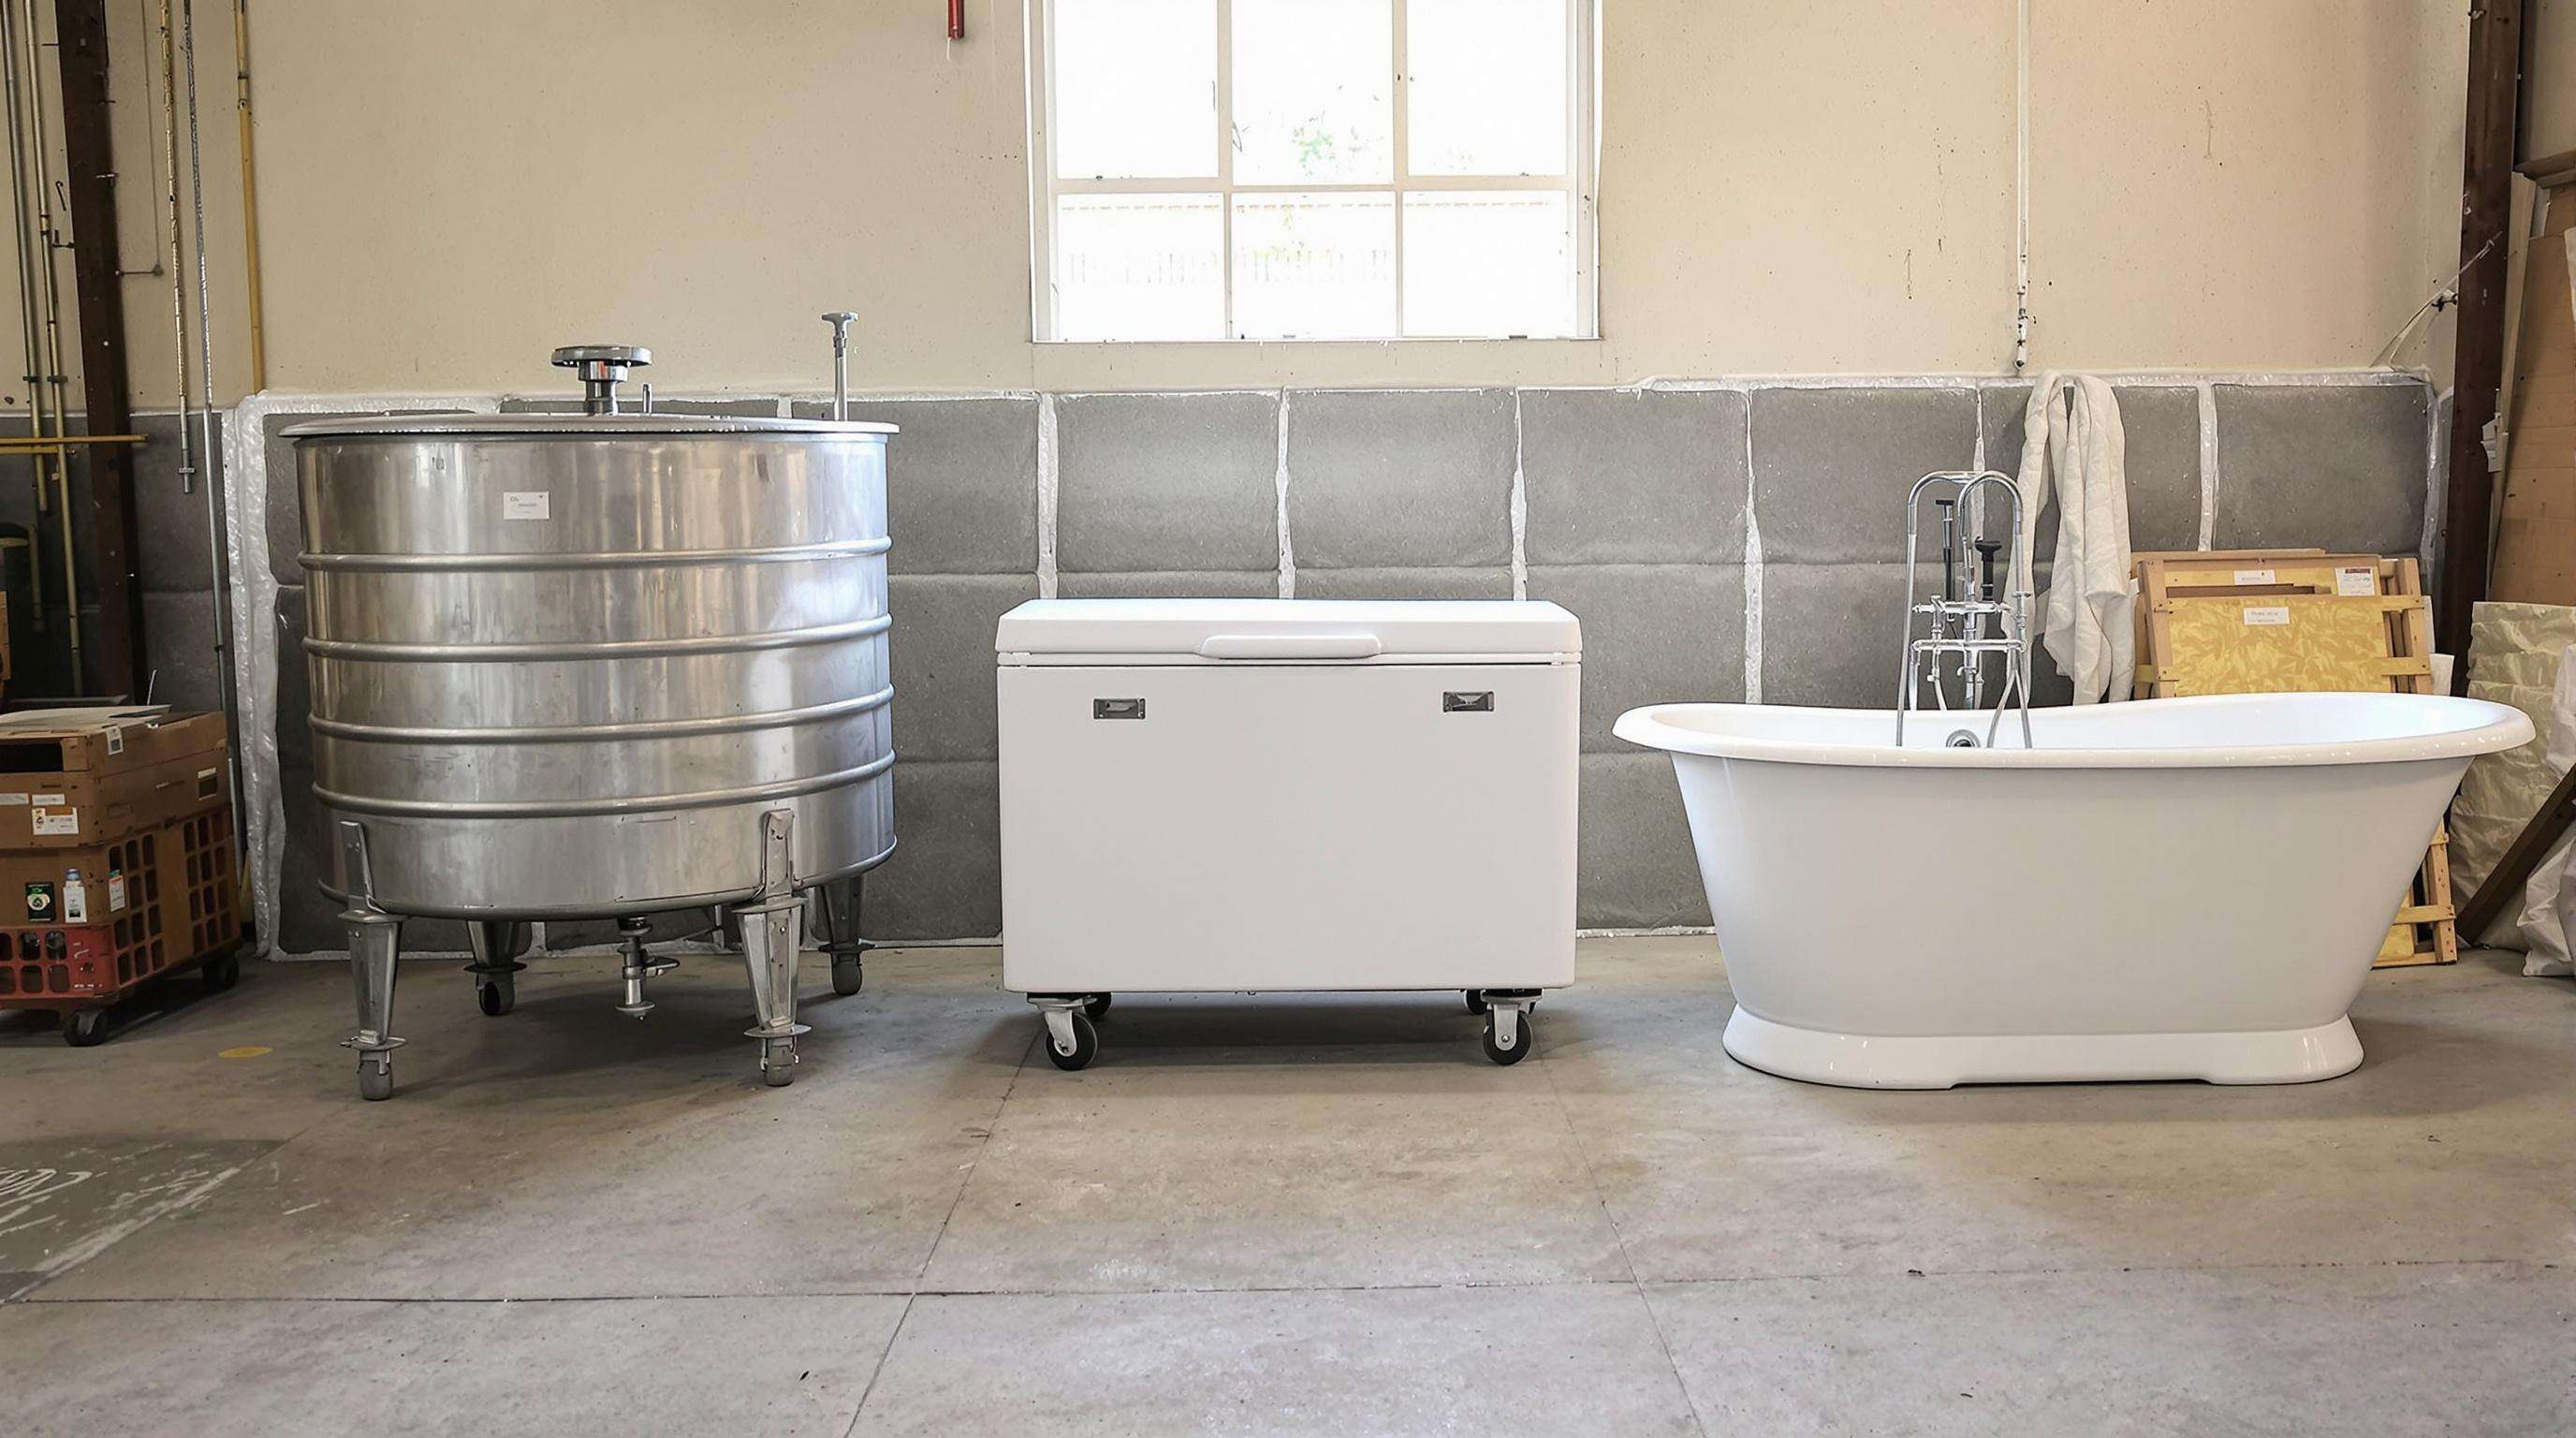
Tub Selection: Stock Tanks vs. Chest Freezers vs. Bathtubs
In the case of ice bath chillers, the capacity of the tub is what governs the efficiency of the heat transfer. Galvanized stock tanks (100-150 gallons) are durable, but must be insulated from the outside. Chest freezers (80-120 gallons) are available for retrofit and have internal thermal inertia but not accessibility. Typical bathtubs (40-60 gal) are fine for little rooms, but they do not retain ice well – surface cooling losses can be 3°F/hour without insulation (2023 Thermal Performance Report). Industry testing demonstrates steel-frame polyurethane tubs lose ≈0.5°F when in 50°F (10°C) water without a cover, due to exposure to ambient air temperature.
Calculating Chiller Power Requirements by Tub Volume
Chiller capacity must offset heat gain and achieve target cooling rates. Use this formula:Required BTU/hour = (Tub Gallons × 8.34) × (Ambient Temp - Target Temp) × 1.25 Safety Factor
| Tub Volume | 70°F Ambient → 50°F Target | Minimum HP |
|---|---|---|
| 80 gal | 16,680 BTU | 0.75 HP |
| 150 gal | 31,275 BTU | 1.5 HP |
| 250 gal | 52,125 BTU | 2.5 HP |
Undersizing by 0.25 HP increases cool-down time by 35-40% (Hydraulic Institute 2022).
Horsepower Considerations Based on Usage Frequency
Daily ice bath sessions demand 20-30% higher capacity than intermittent use. A 1HP chiller maintaining 45°F in a 120-gallon tub can handle:
- 3-4 weekly sessions (4-6 hours/day)
- 1°F temperature recovery every 45 minutes
Continuous operation models should use inverter compressors – their variable-speed operation reduces wear by 40% compared to fixed-speed units (ASHRAE 2023 Compressor Study).
Water Pump Specifications and Flow Rates
Match pump GPM (gallons per minute) to chiller coil capacity:
- 7-10 GPM for 1-1.5HP chillers
- 12-15 GPM for 2-3HP systems
Prioritize magnetic-drive pumps with ≈15ft head pressure – they eliminate shaft leaks common in mechanical-seal designs. Recent UL-certified models show 75,000-hour lifespans when paired with 200-micron pre-filters (2022 Pump Reliability Index).
Preparing the Location for Your Ice Bath Chiller
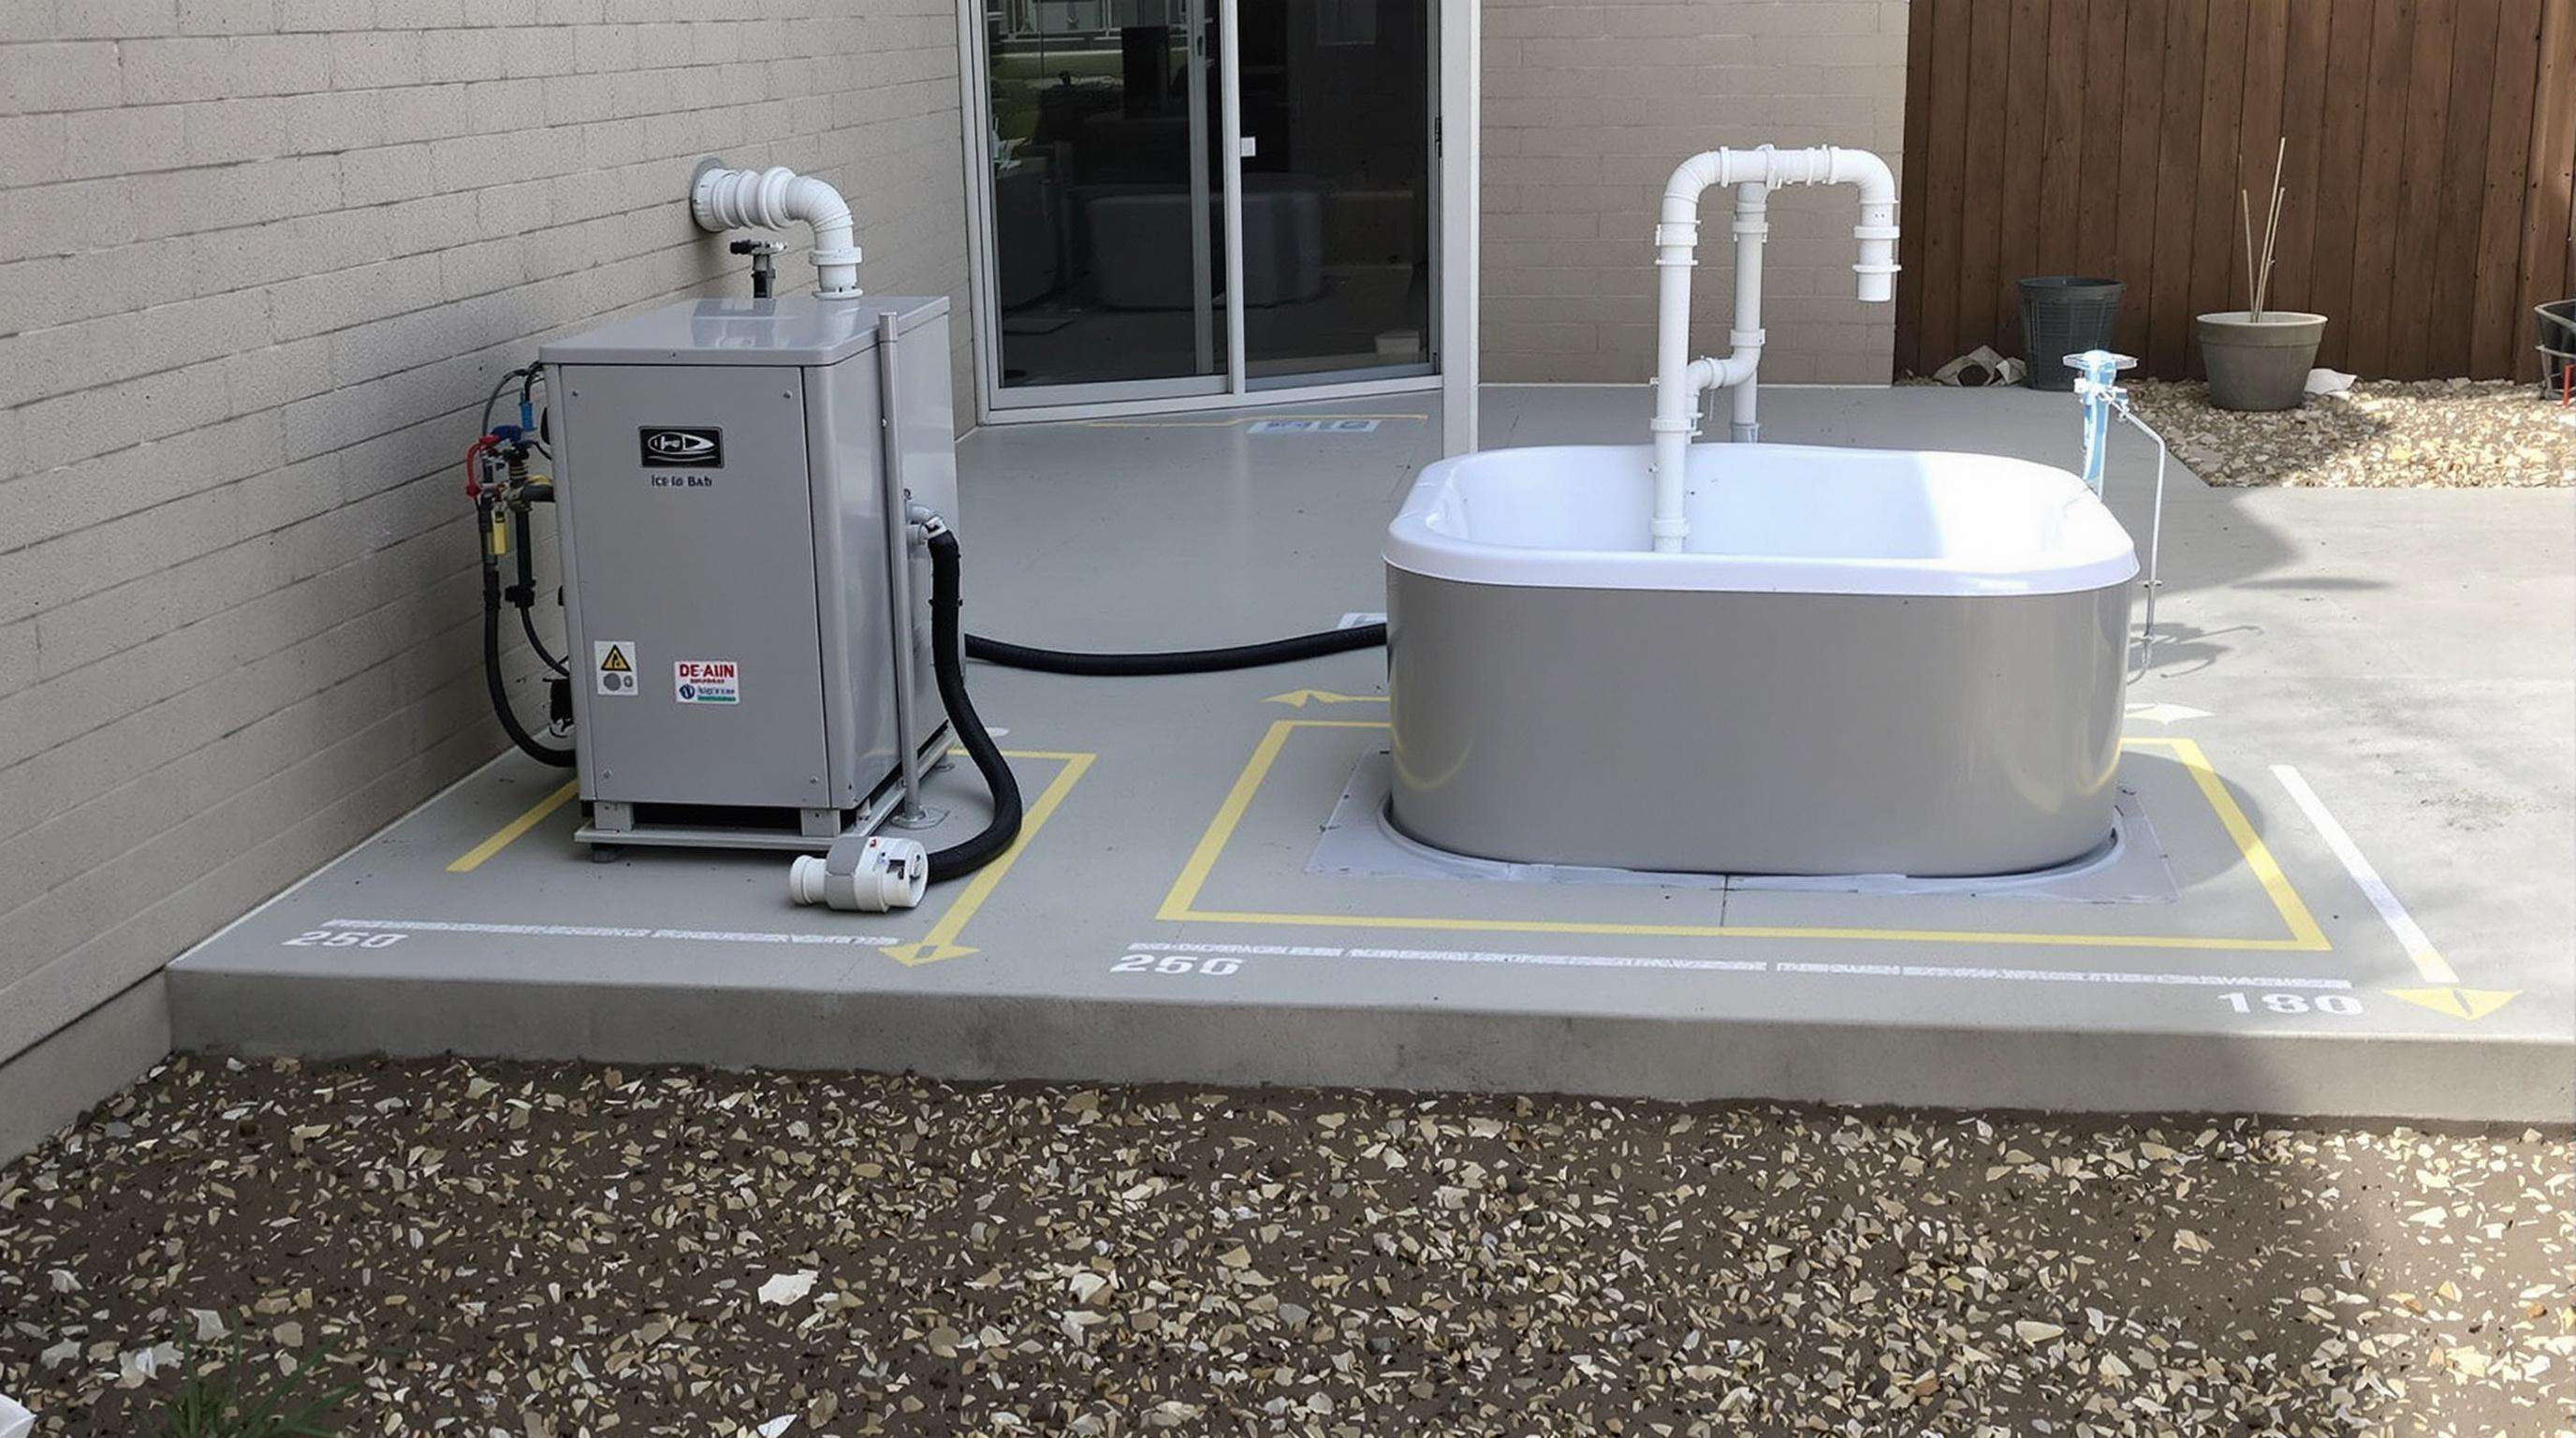
Ventilation Requirements and Space Optimization
Proper airflow prevents chiller overheating and maintains energy efficiency. Follow these spacing guidelines:
- Front clearance: 4-5 feet for unobstructed air intake
- Side/back clearance: 2 feet minimum for heat dispersion
- Vertical clearance: 6 inches above the unit
Position the chiller on vibration-resistant surfaces like concrete pads or reinforced decking. Avoid sun-exposed areas–direct sunlight can reduce cooling efficiency by 12-15% during peak hours.
Surface Preparation and Drainage Solutions
Installation surfaces must support 1.5x the system’s total weight (including water displacement). For elevated decks, verify load-bearing capacity exceeds 125 PSI. Create a 2% slope gradient away from buildings using these methods:
| Drainage Type | Best For | Installation Depth |
|---|---|---|
| Gravel base | Permanent setups | 4-6 inches |
| Channel drain | High-volume use | 3 inches |
| Permeable pavers | Temporary installations | 2 inches |
Include a dedicated drainage channel within 3 feet of the tub. For outdoor setups, elevate electrical components 12” above ground level and use GFCI-protected outlets to meet NEC Article 680 safety standards.
Installing Your Ice Bath Chiller System
Step-by-Step Water Pump Setup Connection
1st Step Place a submersible pump in your ice bath-tub at the lowest point of the tub for optimal water cyclage. Attach ½-inch flexible PVC tubing to the outlet, test fitting the tubing on the pump and securing it with stainless steel clamping. Run the tubing to the chiller's inlet port, keeping slight arcs to avoid kinks, and restrictive bends. Vertically align components for gravity drained siphon priming and fewer trapped air bubbles. For cold treatment applications, select a pump of at least 1,000 GPH so that your water temperature does not fluctuate significantly.
Securing Hose Connections to Prevent Leaks
Prevent fluid loss by using a two-clamp method for all junctions: 1)place a heavy-duty, stiff nylon hose clamp, and then immediately 2)use a corrosion-resistant (stainless steel) on the opposite side rotated 180° from the first. Perform a 24 hour drip test with a water/vinegar 3 to 1(pure is safer) mix (it's not pure water but has a lower surface tension than water so it will seep out micro-fissures better). Use these sleeves and it un-insulated hoses to prevent condensation from forming and keep sensitive contents such as beer cold Cut heat loss up to 40% with thermo tape on valves and pumps above 70°F (20°C) Use to prevent direct light - Aids in maintaining carbonation Use to reduce foaming whenever dispensing Use Them To prevent heat transfer and reduce energy cost Pipe starts out sticky and the adhesive is activated when the tape is wrapped onto the pipe Insulating tubes made of closed cell polyethylene foam or rubber, these foam pipe covers will slip over your pipes quickly and easily 12 inch long Insulated tubes for 1/2" copper pipe or 1/4" iron pipe Condensation on pipes can ruin your walls and floor, time to get some insulation.
Valve Configuration for Optimal Flow Control
Use a gate valve on the chiller’s return line to easily set your flow rate without pressure spikes. :Install a bypass valve in line with the main cooling circuit to keep water cycling during filter service. Include a 25 PSI pressure relief valve (for the 100 gallon plus systems)–a must to protect water heaters from potential failure during thermal contractions. Rotate downward facing valves to facilitate air purging and minimize ball mechanism particle accumulation.
Temperature Control Unit Calibration Process
Thermostats can be calibrated with a NIST-traceable digital probe placed at midpoint in the tub. Add in for typical layered periods the 1-3°F (0.5-1.7°C) difference between upper and lower columns of water. The “On/Off Differential is factory set for 2°F (1.1°C) to eliminate wide temperature changes for system comfort and to extend compressor life. For automatic controls, set up a 10% decrease of output when outdoor air temperature is under 60°F (15.5°C) to avoid component stress induced by over-cooling.
Verifying Chiller System Pressure Dynamics
during startup Verify that operating PSID does not exceed 10- 15% of the manufacturer s stated maximum Designed and tested for use as prot ective and la st chance alarms d 6 x Amplifiers MPSF7 / MPSF9 Use a glycerin f illed pressure gauge to verify o perating PSIDduring Measure dynamic pressure variations in the first 72 hours with no greater than ±0.5 PSI during pump on-off cycles. Conducting a quick-shutdown check will verify the check valves are operating within 2 seconds–vital to prevent potential backflow-induced thermal shock on the compressor.
Priming Procedures for Ice Bath Chiller Activation
Priming Sequence for Air Removal
Step 1 Prepare an Ice Bath: Fill your ice bath container with water so the top of the water is to the bottom of the top return port. Hose from pump to bottom port, check to make sure all seals are airtight. Have the hose upright and once water is flowing through the return line smoothly that is when you have successfully purged all air. Operators need to repeat this process whenever the chiller is re-sited or after heavy duty cleaning as air locking can decrease chiller #thermal efficiency by as much as 30% HVAC IS 2023. Always use a priming plug when starting a pump for the first time to prevent pump damage from dry running.
Initial Performance Testing Protocols
Facility START-UP After priming, operate the chiller 15 minutes checking for leaks at all connections. Confirm that water flows unobstructed through all lines without turbulence or air. Test select air-cooled equipment for temperature drops of 2°F per hour the cooling acceptance criteria and prove a cooling account is either balanced or imbalanced. Record baseline flows and pressures at this stage of testing to aid comparison during future trouble shooting. If you do feel any vibrations out of the ordinary take care of those right away, any, any oscillation that is not taken care of can speed up motor bearing wear.
Maintaining Your Ice Bath Chiller System
Proper maintenance ensures your ice bath chiller operates efficiently while extending its service life. Follow this structured approach to preserve cooling performance and prevent mechanical failures.
Weekly Checklist: Filters and Water Quality
Clean filters once a week to avoid blockages that inhibit water flow. Wash reusable filters with a high-pressure hose and discard disposable ones if water pressure is lower than the manufacturer’s recommendation. Test your water with a pH strip, and keep it in the range of 7.2-7.6 to reduce corrosion. Use sanitisers such as bromine or chlorine tablets to slow bacteria growth, but don't over-treat as you can wear the pump seals.
Monthly Maintenance: Coil Cleaning Procedures
Condenser coils accumulate dust that reduces heat transfer efficiency by up to 30%. Clean coils monthly using a soft-bristle brush and non-corrosive cleaner. For heavy debris, apply a foaming coil cleaner and rinse with distilled water to prevent mineral deposits. Always disconnect power before servicing to avoid electrical hazards.
Troubleshooting Cooling Performance Issues
If temperature regulation fails:
- Verify refrigerant levels using pressure gauges
- Check airflow obstructions around vents
- Test water pump flow rates against factory specifications
Low flow often indicates filter blockages or impeller damage. Address persistent issues by descaling internal plumbing with a vinegar solution (1:4 ratio with water) to dissolve mineral buildup.
Resolving Noise and Vibration Problems
High-pitched whining typically suggests pump cavitation from restricted water intake. Check inlet screens for debris and ensure water levels cover the pump fully. For rhythmic knocking:
- Tighten motor mounts
- Inspect impeller balance
- Replace worn bearing assemblies
Isolate vibrations by placing anti-fatigue mats under the chiller unit and securing all hose connections with stainless-steel clamps.
FAQ Section
What is the best tub option for ice bath chillers?
Galvanized stock tanks, chest freezers, and typical bathtubs are common options. The best choice depends on room size, insulation needs, and cooling efficiency requirements.
How do I calculate the chiller power requirement?
Use the formula: Required BTU/hour = (Tub Gallons × 8.34) × (Ambient Temp - Target Temp) × 1.25 Safety Factor.
Why is ventilation important for ice bath chillers?
Adequate ventilation prevents overheating and maintains energy efficiency, with specific clearance requirements for optimal airflow.
How often should I clean the condenser coils?
It's best to clean the condenser coils monthly to maintain heat transfer efficiency and prevent mechanical failures.
What should I do if my chiller makes excessive noise?
Noise issues may result from pump cavitation or imbalanced impellers. Check for obstructions, secure hose connections, and consider using anti-fatigue mats for noise isolation.